Showing posts with label darkroom door. Show all posts

12 Oct 2022

drunk

 hello stampers!

I'm joining in today with the sisterhood - it's been a while and I felt like a good bit of snark was just what the doctor ordered. Edna has decreed challenge #219 D is for drunk.

I couldn't resist.

The background uses the darkroom door honeycomb stencil dipped into different watered distress oxide inks. The paper rose martini glass was die cut from inked card. Sentiment printed on my computer.

Here's to you - thanks so much for stopping by! 

**Edit: Thrilled to be crowned Princess for this card!


15 Jul 2022

Perfectly CAS July challenge #29

 hello stampers!

It's time again for the Perfectly CAS monthly challenge and this month you're going to get all "Festive" with us!

I have been making Christmas cards early this year, and thought this was the perfect chance to make another one!

I began by cutting a card panel 1/3 of my card base using my home made grid which measures thirds. Then I embossed the left side using a texture plate. I stamped the flourish with versamark on some white card and clear heat embossed it then ink blended to get an emboss resist. This was then die cut for the ornament. 


The sentiment was die cut using silver paper adhered to card. The silver ornament piece and string were cut out and adhered. Finishing touch was a few rhinestones.

We can't wait to see your creation in our gallery - remember it's the perfect excuse to start on those Christmas cards!

Thanks for stopping by!


  • stamps: darkroom door flourish texture stamp
  • inks: candied apple distress oxide ink, versamark
  • dies: newtons nook holiday greetings, hero arts infinity circle
  • fiskars filigree texture plate

15 May 2022

Perfectly CAS May challenge #27

 hello crafty stampers and welcome to another perfectly cas challenge! 

This month we have the theme: Distress. Our talented team have put together some beautiful cards and we can't wait to see what you create! Just remember to use no more than 1/3 of the card space for our challenge. 


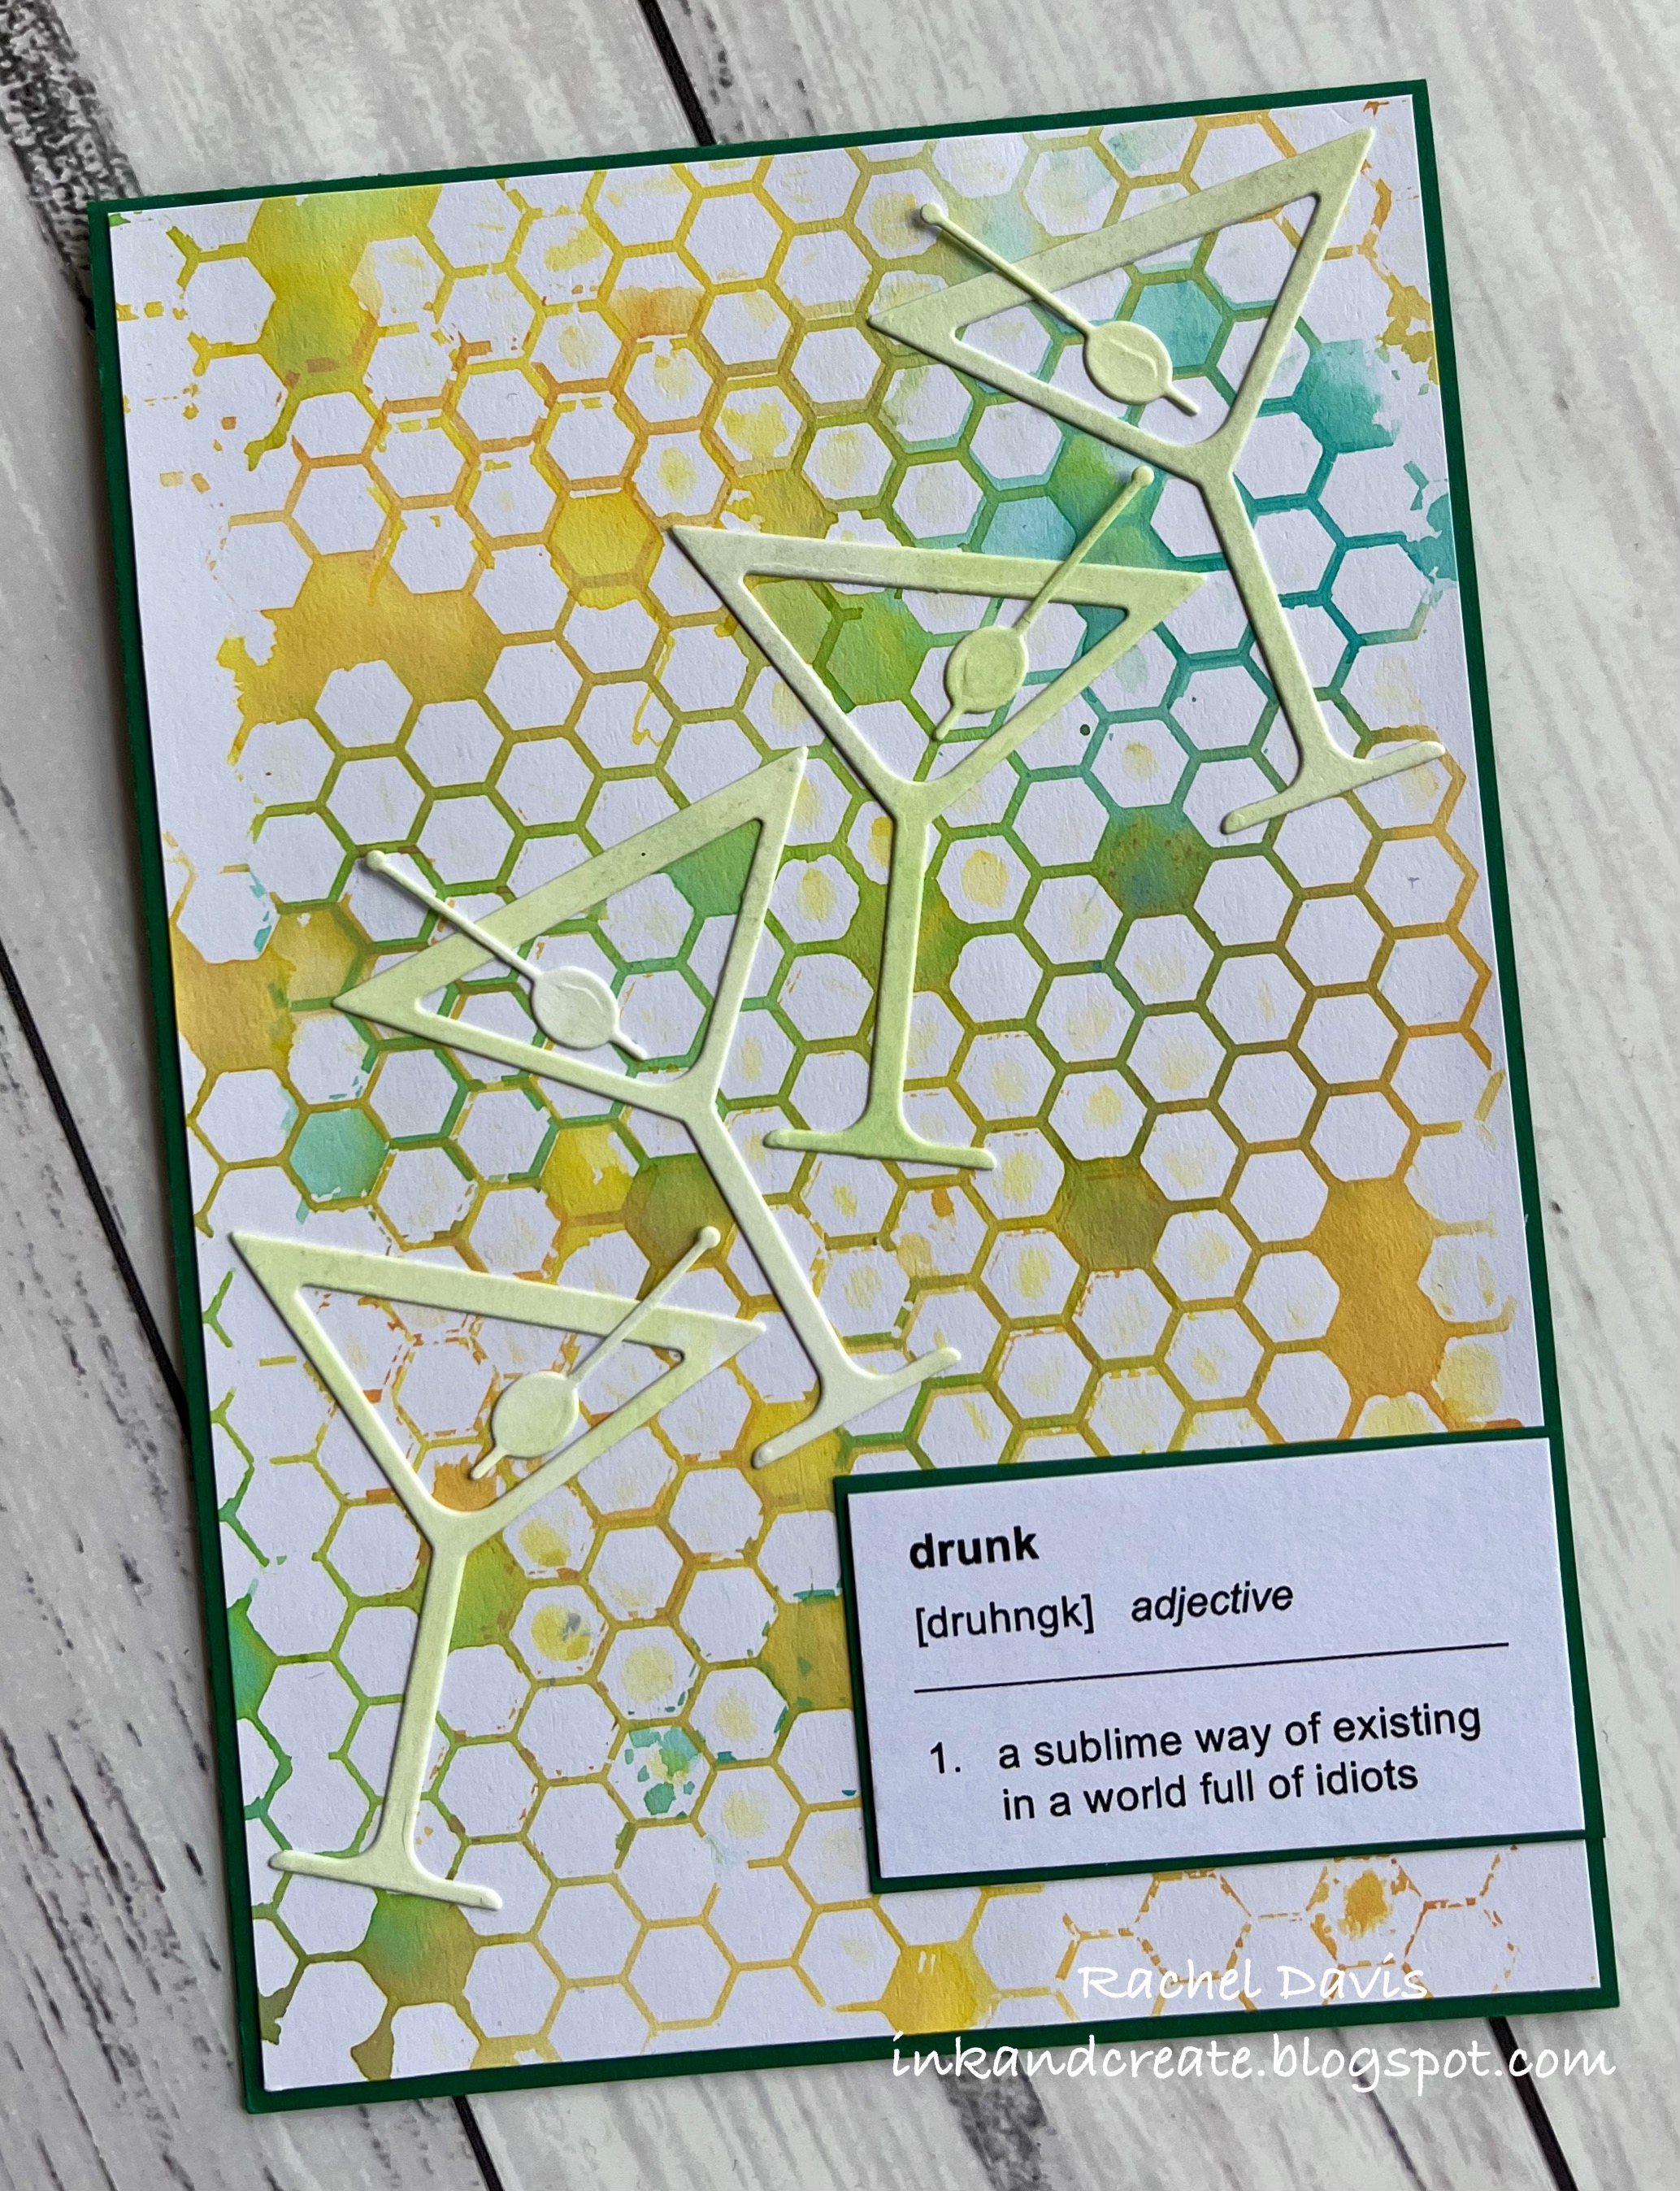
I began with a 5 1/2 x 4 1/4 in card base and rather then using the 3x3 grid, I calculated 1/3 of the area - about 7 6/8 in. I chose a Paper Rose Stitched Rectangle die which is approx 1 7/8 x 4 inches which is just a little smaller than 1/3 of the card panel. Perfect!

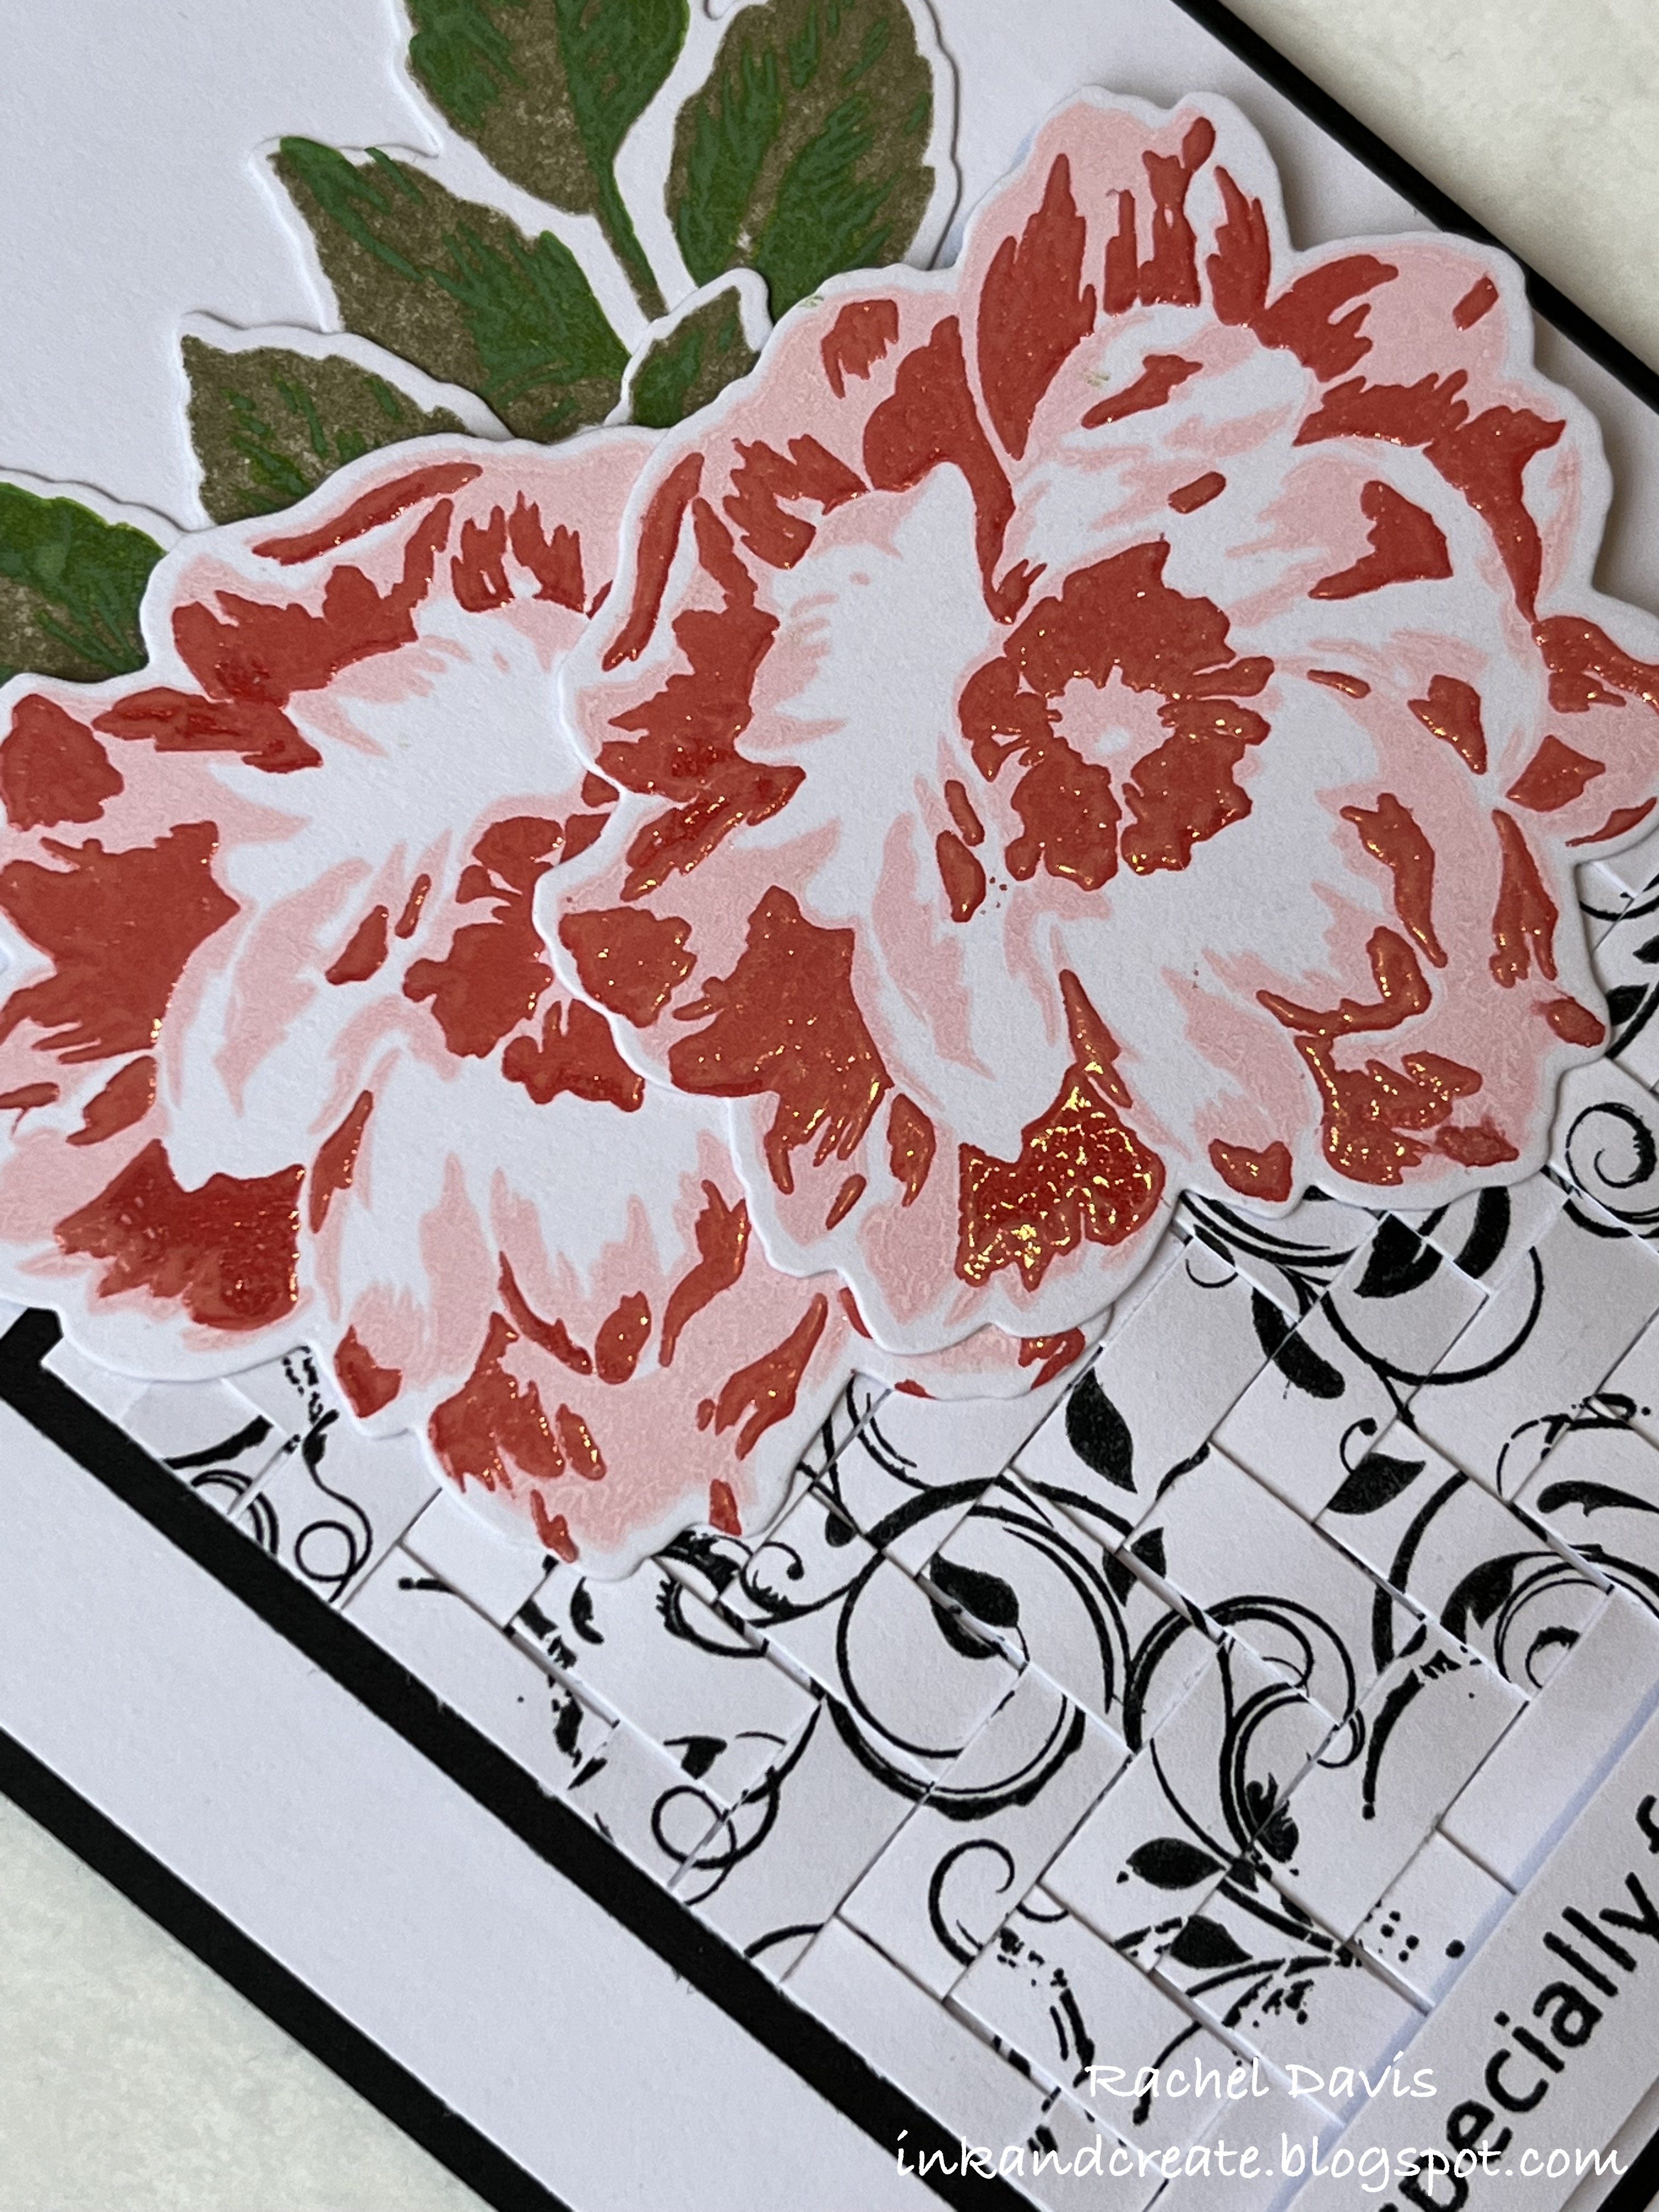
I began with some ink blending using a honeycomb stencil then splattered it with water for some texture. This was die cut with the rectangle die and the edges distressed with some scissors. I stamped the foliage with distress oxide ink and die cut them with the coordinating die set. The sentiment was stamped, trimmed and popped up on foam for dimension.

As a note, 1/3 of a 5 1/2 x 4 1/4 in card base is also:

circle = 3 1/8 in diameter

square = 2 6/8 in sides


Thanks so much for spending some time with me today - we can't wait to see your card in our gallery!

Till next time, take care x


  • ink: peacock feathers, mustard seed, carved pumpkin distress oxide
  • stencil: Darkroom Door honeycomb
  • stamp: MFT flower silhouettes, SU Loyal Leaves (sentiment)
  • die: MFT flower silhouettes, Paper Rose stitched rectangles


13 May 2022

hello

 hello stampers!

I have been inspired lately by the cas cards of Shayne Eddie and Chris Stokes and have been trying out some of their techniques on my cards recently. This weeks cas colours and sketches challenge #469 provided the perfect opportunity to practise some more.

I began by die cutting a square from a panel I had from a previous project where I used the leftover ink on the stencil, sprayed it and smooshed it onto a card. This gives such wonderful, soft forms and gentle colours. The seahorse was stamped in my Misti 3 times - onto scrap card, onto the inked square and onto the card panel. The scrap card was die cut with the coral shape.

The edges of the square were inked then it was adhered in place over the seahorse, the die cut was popped up on thin foam squares to allow the shape to sit up over the twine, with the other die cut tucked under the twine. The sentiment was stamped in a coordinating colour and the panel was finished with a few droplets.

I do love this Chris Stokes eclipse technique where the die cut is stamped and laid in place - it gives such interest and dimension!

Thanks so much for spending some time with me today! 

  • stencil: paper rose small drops
  • stamps: darkroom door under the sea, altenew ornamental bliss
  • dies: mft flower silhouettes, hero arts infinity squares
  • inks: tumbled glass, blueprint sketch, shaded lilac distress oxides


4 May 2022

crazy

 hello lovely stampers!

I have a sweet card for you today. I'm playing along with the sisterhood and their latest challenge #209: U is for Underwater.

I've had this stamp set for a little while now but this is the first time using this meece stamp. And yes, it was more than a little fiddly to stamp cleanly 😏. I ended up stamping the meeces in 3 different colours in my MISTI finally settling on black soot oxide ink for a slightly washed out black look (they are underwater after all!). 

The background is ink smooshed with 3 different blue hues of oxide ink. I think it was about 6 layers of inking and drying! I watercoloured their hats with abandoned coral oxide ink which really popped against the blue. The sentiment was popped up on tiny foam strips. The panel edges were ink blended with black soot and also chipped sapphire.

I'm entering this in Darnell's fabulous NBUS blog too! Hope you're doing well, Darnell! x

Thanks so much for stopping by today!

  • stamps: stampendous birthday splash, darkroom door under the sea
  • inks: tumbled glass, chipped sapphire, blueprint sketch, abandoned coral, pumice stone, weathered wood, pine needles, black soot distress oxides
  • sentiment: Tim Holtz snarky small talk sticker


23 Apr 2022

hello

 hello stampers!

Playing along with the addicted to cas challenge #218 where they're asking for a one layer card. I find one layer cards tricky as I always think they need something more, but I think the challenge is to make them interesting WITHOUT the something more 😉

I started by choosing the stamp I wanted to use. Darkroom Door Under the Sea has some beautiful images and this seahorse is my favourite. I inked her with distress oxide, spritzed with water then stamped the image in my MISTI. A couple more partial inkings were stamped with different colours - I used 4 colours in all - to highlight different areas. The Scrapmatts Waves stencil was used for the water and the sentiment is from Altenew Sentiment Strips.

Thanks so much for stopping by today!

19 Apr 2022

especially for you

 hello lovely stampers!

I stumbled upon a new challenge for me and thought I'd give it a go! The card concept challenge gives an inspiration pic and 7 different styles of design to make a card of your own. Fantastic information on the different styles as I've never seen them laid out so well before. I never really know which style I prefer as it does change from time to time, but I think this one I made is clean and layered? 😀

I was inspired by the flowers, the colours and the black and white details. The weave is a nod to the fabric on the cushion!

I began by using Altenew Beautiful Day stamp to stamp the flowers with distress oxide for the first layer, and distress oxide heat embossed for the detail layer, for some lovely shine and to bring out the gorgeous red colour. The leaves from the same set were also layer stamped. The coordinating dies were used to cut them all out. I stamped Darkroom Door Flourish texture stamp with memento tuxedo black on 2 separate card panels, cut them into 1/4" strips and weaved them with a basket weave, adhering it to a black card square. The sentiment is from Penny Black Grown with Love stamp set.


Thanks so much for stopping by today!

Thank you to the team at the card concept for the Honorable Mention - I'm thrilled!


17 Apr 2022

happy birthday

 hello lovely stampers!

I had some free time today so am playing along with the cas colours and sketches sketch challenge #465.

I began by stamping Darkroom Door Woodgrain texture stamp with dye ink in my MISTI several times. The leaf stem was die cut using MFT In Focus Florals from ink blended card. The flowers were die cut from the same set but a different die from ink smooshed card, then trimmed from the die to keep just the flowers. The sentiment is from Paper Rose Tiny Forest stamp set.

Thanks so much for stopping by today!

16 Apr 2022

forgot

 hello snarky stampers!

I'm thrilled to have been chosen as the sisterhood's Queen of Snark with this card! Queen gets to enjoy the absolute privilege of being guest designer for the next challenge.  Woo hoo! The theme for this challenge is L is for Layers.

I began by creating 3 base layers for my card: stencilled chipped sapphire distress oxide using Paper Rose Striped stencil, stamped the fish with peacock feathers distress oxide using Darkroom Door Under the Sea stamp set, and stencilled tumbled glass distress oxide using Paper Rose Small Drops. These panels were then cut to size and arranged on the card base. I die cut using Paper Rose Arrows die set from ink blended card many many arrows and arranged them onto a fourth layer, then trimmed and mounted that onto an ink blended card for the fifth layer.

Using MFT Cool Day I die cut the ice bergs, inked the edges and the details, then stamped and die cut the ice floe. The bear was stamped using Colorado Craft Company Sweater Bears stamp set and fussy cut. These were all mounted on foam squares. The sentiment from Tim Holtz small talk stickers was adhered onto ink blended card and mounted on foam squares. Whew!

Thanks so much for stopping by today!

23 Mar 2022

here for you

 hello lovely stampers!

Playing along today with the addicted to cas challenge #216 - Water.

I've wanted to use this splash stencil from Paper Rose for a while and thought it would be perfect this time. The stencil was inked with distress oxides and splattered with water. The fish from Darkroom Door Under the Sea were stamped on ink blended card, fussy cut and popped up on foam. The sentiment is from Altenew Sentiment Strips.

Thanks so much for stopping by!

15 Mar 2022

Perfectly CAS March challenge #25

 hello lovely stampers! 

I'm so thrilled and honoured to be joining the talented design team at Perfectly CAS! Every month they showcase wonderful CAS cards around a theme, and all using no more than 1/3 of the card panel. Doesn't sound too hard does it? I do love CAS cards and can't wait to get into it. 

This month the theme is: Die Cuts.

The middle third of the card panel was masked off for the background, ink blended with bundled sage distress oxide ink then stamped with the same ink using Darkroom Door Flourish texture stamp. 

Using Paper Rose Bird Houses die set, the bird houses and birds were die cut from slate, white and pink card. The sentiment from Altenew Mini Daisy stamp set was stamped in Altenew Silver Stone then heat embossed with clear for some shine. Lastly some pink card scraps were adhered to the top and bottom of the card base.

We'd love you to join us in the challenge this month - we can't wait for you to show us your die cut creativity! Just remember to use 1/3 of the card or less.

Thanks for stopping by and hope to see you in our gallery!


12 Mar 2022

meow's it going

 hello stampers!

I was thrilled to see the addicted to cas challenge has my favourite theme this month - Feline! So many ideas in my head, I couldn't wait to get started!

I chose the feline image from iCrafter Purrfect Birthday stamp set. Stamped the cat and the mouse and then watercolored and fussy cut them. For the background, I used the Darkroom Door Brick Wall stencil and lightly blended with distress oxide ink, roughly bigger than the cat image. The cat was adhered on his feet and has foam squares under his head. The bush was die cut twice using Hero Arts Succulent die set, cut down to the size I wanted, and glued in place just along the bottom so it would stand up a little. The sentiment from the same stamp set was stamped on the card panel. 

Just before I go, I wanted to share a quick pic I took just a couple of days ago of another cheeky feline! This is my cat, Sox who had spotted a kookaburra sitting on our balcony railing. Luckily the screen door was closed or he would have been a-huntin'!

Thanks so much for stopping by!


21 Feb 2022

hey succa

 hello again stampers!


I thought I'd play along with the talented team at justusgirls challenge #620 colour week. I felt the colours lent themselves to a masculine card and who doesn't need more of those?

The background was ink blended using Darkroom Door Brick Wall stencil and distress oxide vintage photo ink. The succulents were stamped using Hero Arts Floral Succulent stamp & cut set and watercolored (!) using Altenew Teal Cave and distress oxide vintage photo inks. They were die cut and popped up on foam squares over 3 die cut rectangles using Paper Rose stitched rectangles die, cut from orange card. The sentiment was stamped in vintage photo using Altenew Ornamental Bliss and the little sentiment from the Succulent stamp set stamped in teal. A scrap of vintage photo blended card was adhered under the sentiment. The panel was mounted on a white card base.

Thanks for stopping by!

17 Feb 2022

spread your wings

 hello lovely stampers!

Today I'm playing along with the justusgirls challenge with trend week #619. 

It's an interesting idea to use a die cut as a stencil and it certainly took me a couple of tries with different dies before I settled on something that I liked (and that worked!). It seems simple is key here.

I began with a Hero Arts Nesting Rectangle Infinity die cut as a stencil and ink blended it with yellow thru orange to red distress oxide inks. I used Paper Rose Flying Birds die cut and stencilled the birds over the top of the rectangle. I stamped the sentiments from Darkroom Door Wildflowers Vol 1 in the same yellow and heat embossed them in clear for some shine. Lastly the panel was adhered to a red card base.

I'm thinking this is the perfect technique for a 1 layer card - I'll have to keep it in mind for next time. Thanks for stopping by!

9 Feb 2022

grammar

 hello snarky stampers!

Joining in the challenge with the snarky sisters #203 J is for Judgemental


The background is distress oxide ink smooshed, dried then inked using Altenew Color Block Triangle stencil and a little curly stamp with matching distress oxide ink. The birds were stamped using Darkroom Door Garden Birds in memento tuxedo black. The sentiment is a Tim Holtz Small Talk sticker. Washi tape was used for the edges and dots marked in. Lastly the panel was popped up on foam tape on a black card base.

Thanks for stopping by!

6 Feb 2022

best friends

 hello lovely stampers!

Today I have been playing along with just us girls challenge word week #618: friends.

I decided to go full Tim Holtz with this one and used one of my favourite sentiments.

The background is ink blended using distress oxide inks, then stamped with Darkroom Door Flourish texture stamp, and various little stamps from unknown sets that I just keep separately. The heart stamp was stamped and heat embossed using Tim Holtz Stampers Anonymous Happy Everything Blueprints and the sentiment is a Tim Holtz Small Talk sticker, edged in ink and popped up on foam.

Thanks for stopping by!

25 Jan 2022

age

 hello again stampers!

The lovely sisters over at the sisterhood of snarky stampers have as their theme this fortnight #202 G is for Gel Printing. Well there's always a first time...!


I made the gelli print using distress oxide inks as I don't have any paints, but I used the same gelli printing technique. The first pull was the 3 background colours, and I thought it looked like a tall treed forest, so I continued with that theme. I added images using a Stampin Up Woodland embossing folder, Darkroom Door Wildflowers Vol 1 stamp set, and Darkroom Door Woodgrain texture stamp with different distress oxide ink colours. The sentiment from Stampendous Birthday Splash stamp set was adhered to black card and mounted on foam tape. The panel was lastly adhered to a black card base.

My technique needs improvement for sure but I certainly ended up with quite a few lovely card panels which will need more embellishment for future cards, and such fun!

Thanks for stopping by!

popular posts